In 2013, right before I was helping to deliver a precon seminar at TechEd on Windows Azure SQL Database, Microsoft made available the ability for customers to use virtual machines running in Windows Azure. This allowed for users to run on-premises version of SQL Server but have the instance hosted in the cloud. The natural question then became “how do I connect to the Azure VM using SQL Server Management Studio”?
Here’s the short version:
- Create your VM
- Open a port for the VM inside the Azure management portal
- Open a port in the Windows firewall on the Azure VM
- Configure security for the instance; verify TCP is enabled
- Connect remotely with SSMS
It’s that easy. Now let’s take a look at the steps in more detail.
Create Your VM
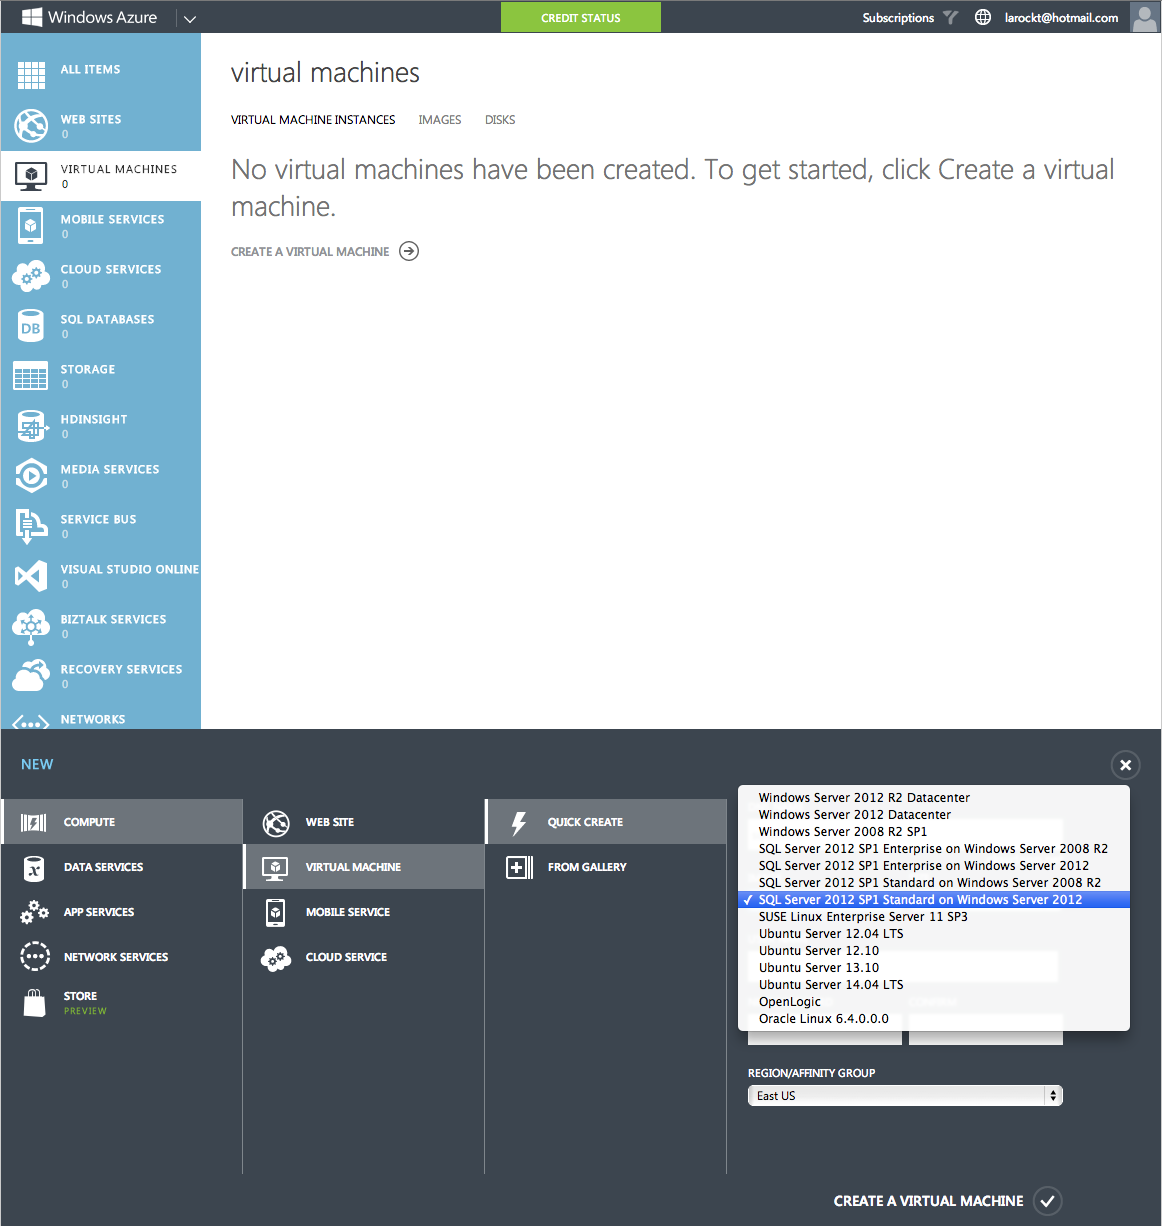
First we will create an Azure VM. Here I will choose the “Quick Create” option that has an image of SQL 2012 SP1 running on Windows Server 2012:
Open a port
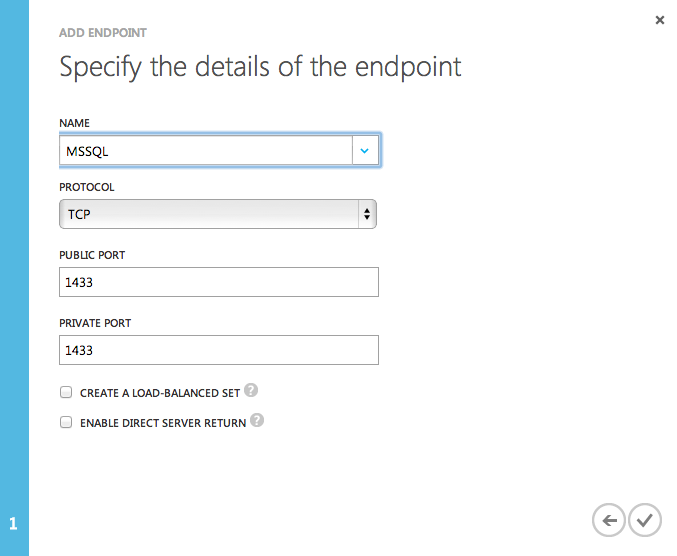
Once the VM is created you will need to open up a port in order to allow access to the instance of SQL Server. I’m going to stick with the default port of 1433 and create a new endpoint here:
Configure firewall rules
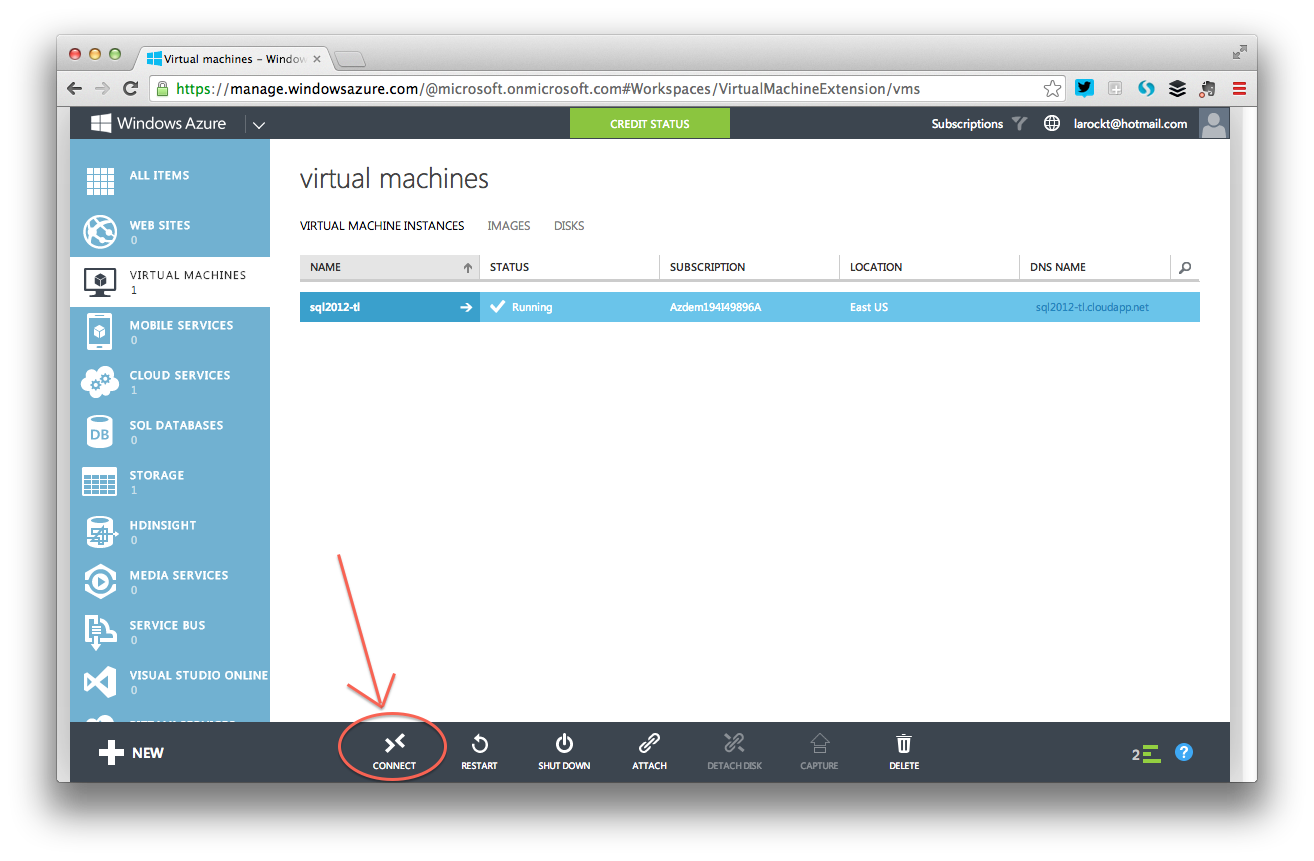
Next up we need to configure the firewall on the server itself. I will use Remote Desktop to connect to the server to get this part done. From the dashboard, I can click on ‘Connect” in the lower left:
This will open up RDP session for me. From there I will configure a new inbound rule in the Windows firewall for port 1433:
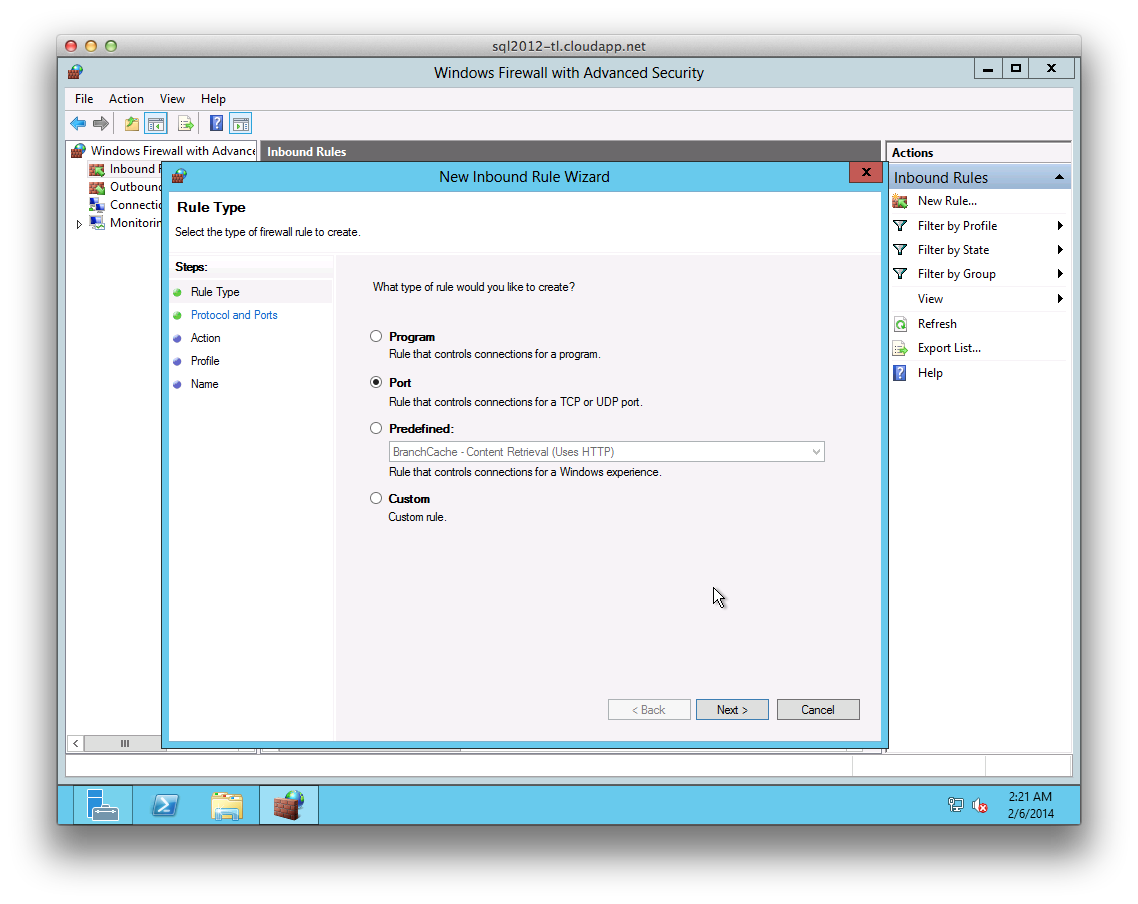
I will select a rule type of ‘Port’, as shown above. The port will be for 1433 because I’m showing a trivial example here. I’d encourage anyone actually opening up an instance of SQL Server like this to use a non-default port.
After clicking next, the options I will select are as follows (sparing you from a bunch of additional screenshots):
- Select TCP and specify port 1433
- Next, select ‘Allows This Connection’
- Then, select when you want the rule applied (I chose ‘Public’, choose what is right for you)
- Lastly, assign this rule a name (I chose ‘SQL’ because I’m lazy, but do what is right for you)
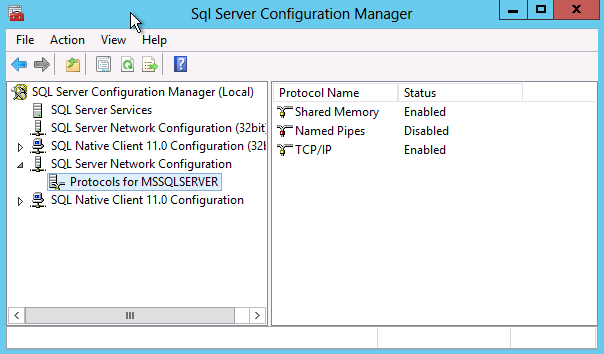
Here is where I also would advise you take a moment to verify that SQL Server is enabled to use the TCP protocol:
Configure security
Next, we will configure SQL Server to use mixed mode authentication for the purpose of a simple example. Note that Windows Azure does support Active Directory at this time, so this may be an option for you.
We will change the security to ‘Mixed Mode’ and create a new SQL login:

Connect
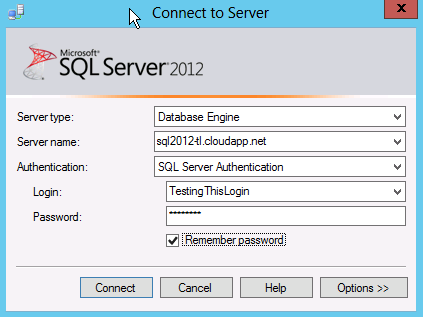
After a restart to the instance we should be able to connect from SSMS running locally. The server name is the DNS name you chose when creating the VM. In this case, I chose sql2012-tl, so my URL becomes sql2012-tl.cloudapp.net:
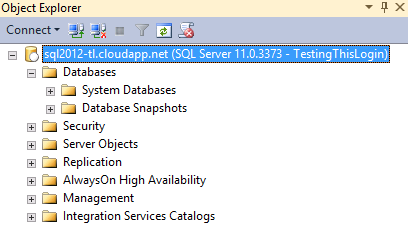
Connecting to an instance of SQL Server running in an Azure VM is very simple and straightforward process. You are just a few clicks away from being able to access your instance running in an Azure VM from the client tools installed on your desktop.
Thank you for posting this. I have been trying to make this work.
You are welcome, thanks for reading!
With my Sql in My AzureVm , it does not work.
Are you getting an error message?
When i enabled tcp/ip in protocols, in SQL SERVER CONFIGURATION, all turned ok.
Thanks.
Wonderful, thanks for the comment! I didn’t mention it previously, but checking TCP/IP protocols is a good thing to do for troubleshooting.
Happy to get solution of my query. I was in the search of same kind of server management solution and finally meet to you. Good job keep it up.
Hi, I can’t get it to work on me. Is this only applicable to a VM created with SQL image since the I use is for datacenter?
I’m not sure I understand your question completely, but the steps above are applicable to any Azure VM image (with or without SQL Server). You will need to open up firewalls and ports in order to access the instance.
Thank you for that advice. I have already done those but for some reason it didn’t work until I resize my Azure VM. Now it is working as expected. So I think I just missed out something.
OK, thanks for letting me know. I don’t think resizing should matter, but I’m glad to hear it is working for you now.