Export to CSV in Azure ML Studio
January 17, 2024
The most popular feature in any application is an easy-to-find button saying "Export to CSV." If this button is not visibly available, a simple right-click of your mouse should present such an option. You really should not be forced to spend any additional time on this Earth looking for a way to export your data to a CSV file.
Well, in Azure ML Studio, exporting to a CSV file should be simple, but is not, unless you already know what you are doing and where to look. I was reminded of this recently, and decided to write a quick post in case a person new to ML Studio was wondering how to export data to a CSV file.
When you are working inside the ML Studio designer, it is likely you will want to export data or outputs from time to time. If you are starting from a blank template, the designer does not make it easy for you to know what module you need (similar to my last post on finding sample data). Would be great if CoPilot was available!
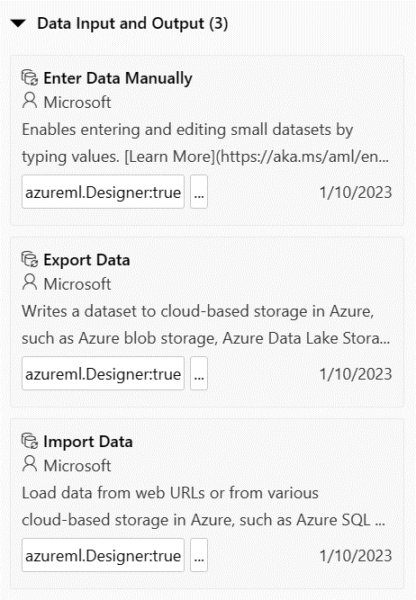
Now, if you are similar to 99% of data professionals in the world, you will navigate to the section named Data Input and Output, because that’s what you are trying to do, export data from the designer. It even says in the description “Writes a dataset to…”, very clear what will happen.
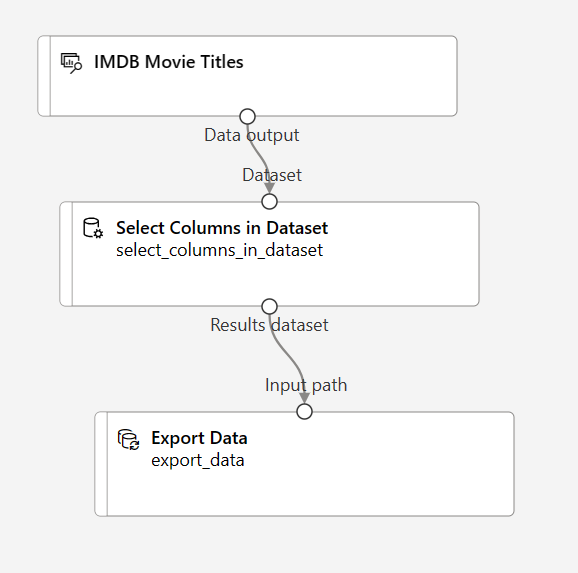
So, using the imdb sample data, we add a module to select all columns, then attach the module to the Export Data model. So easy!
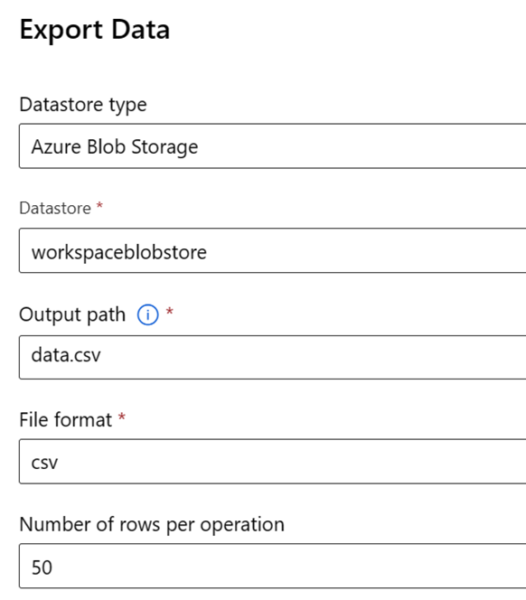
When you attach you need to configure some details for the module. Again, so easy!
We save our configuration options and submit the job to run. When the job is complete, we navigate to view the dataset.
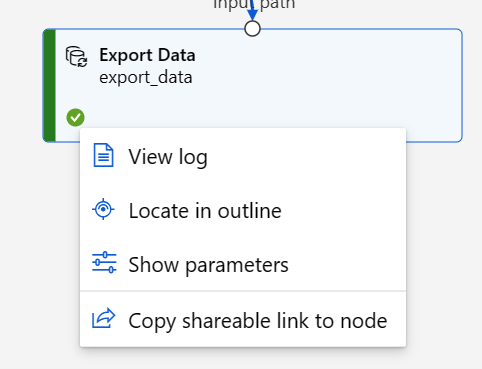
Uh-oh, I was expecting a different set of options here. Viewing the log and various outputs does not reveal any CSV file either. Maybe I need to choose the select columns module:
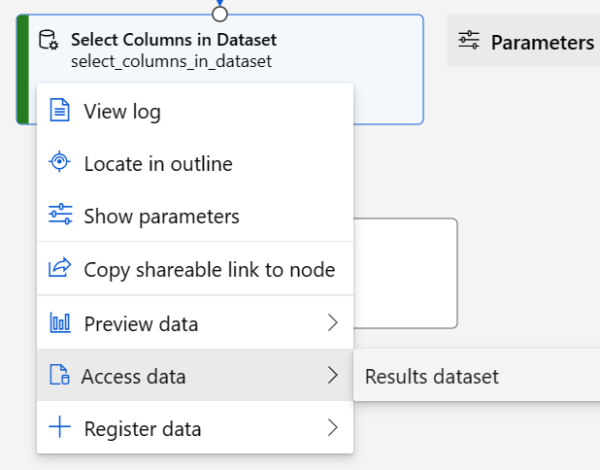
Ah, that’s better.
Except it isn’t. Instead of showing me the location of the expected CSV file, what I find is this:
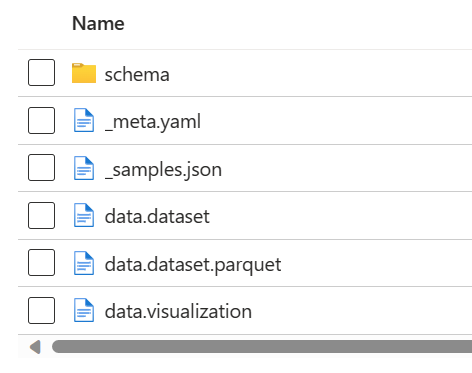
I can preview the data from the select columns module, but there isn’t a way to access the CSV file I was expecting. I suspect this export module is really meant to pass data between pipelines or services. But the purpose and description of the export module is not clear, and a novice user would be unhappy to head down this path only to be disappointed and frustrated.
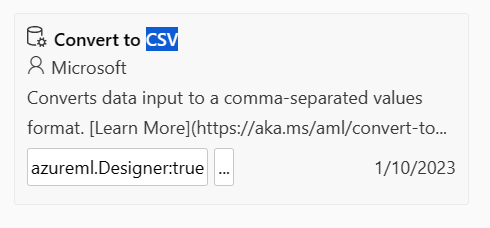
What we really want to use here is the Convert to CSV module:
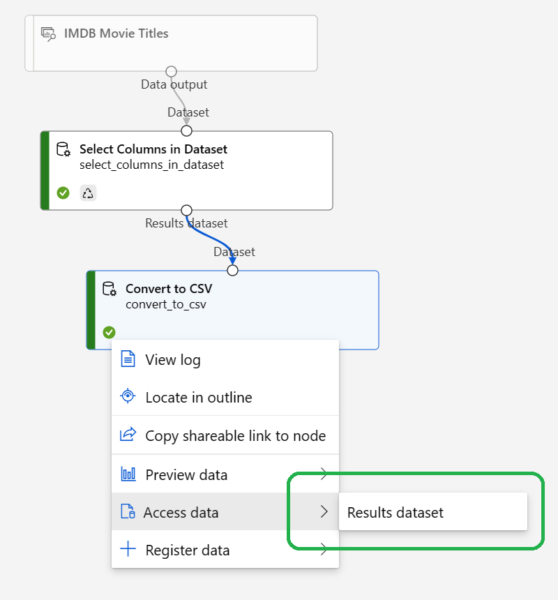
Viewing the results will display this:
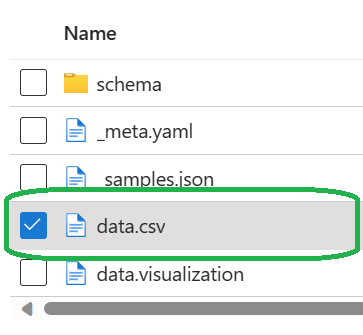
Which has what we are looking for, a download button:
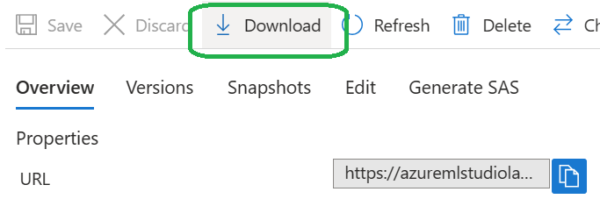
Selecting Download will either default to your browser settings, or you can do a Save As.
As I wrote at the beginning of this post, exporting to a CSV file from within Azure ML Studio is easy to do, if you already know what you are doing. If you are new to Azure ML Studio, you may find yourself frustrated if you expect the Export Data module to produce a CSV file. You will want to use the Convert to CSV module instead.